


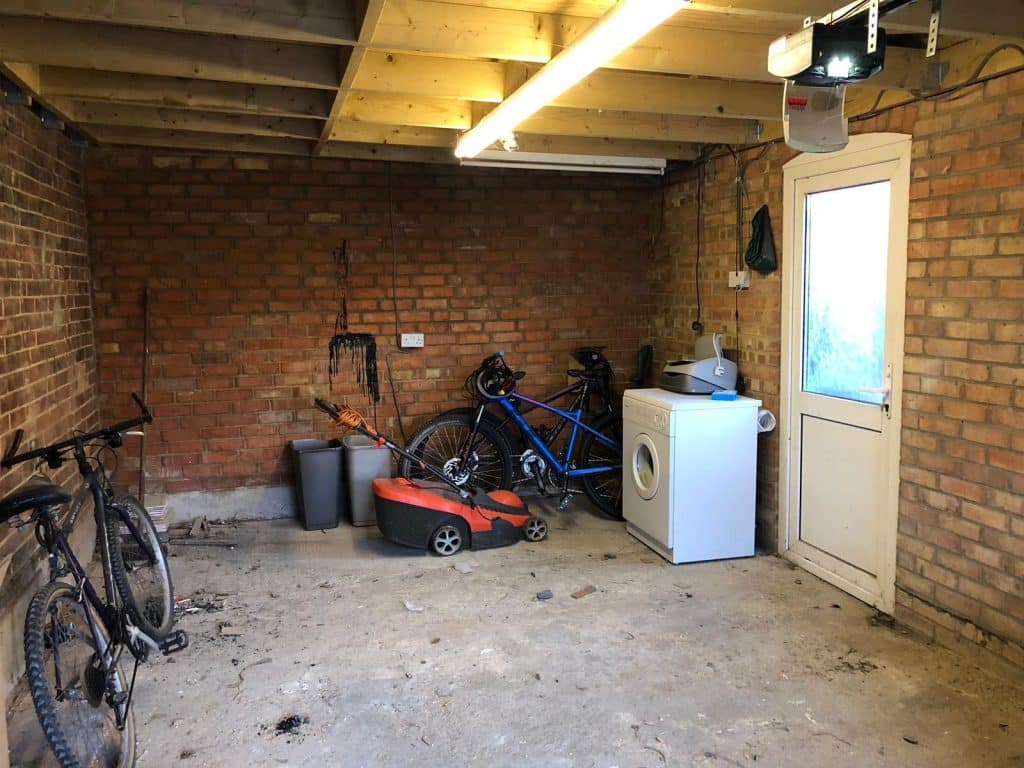
I’ve wanted to build more for a long time: DIY jobs around the house, van upgrades and repairs. I wanted somewhere I could disappear for a few hours and work on something.
I also love tools. Probably more than I should. Buying them is almost a hobby, especially when I can convince myself a project needs a new one.
Before Covid, about two-thirds of the garage was turned into an office and gym. That left roughly a third as actual garage, minus a corner for the sauna.
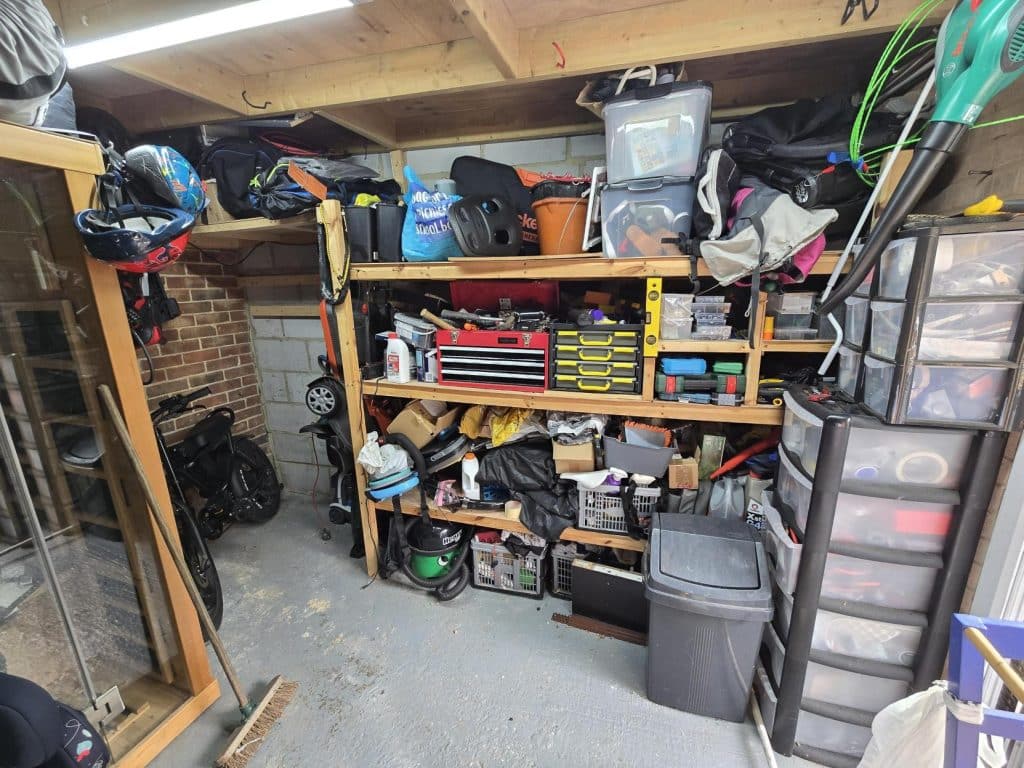
Over time that last third became a dumping ground. Tools on shelves, in boxes or just lying about, alongside van parts, decorating bits, cables, screws, camping gear and random stuff with no proper home. It worked as storage, but not as somewhere to actually start a project.
I wanted a small workshop: a proper bench, decent storage and enough room to work without moving ten other things first. The problem wasn’t the size of the garage, it was how badly I was using it.
So I took photos of the garage and asked ChatGPT to design something. Something realistic for the space I actually had, not a huge dream workshop.
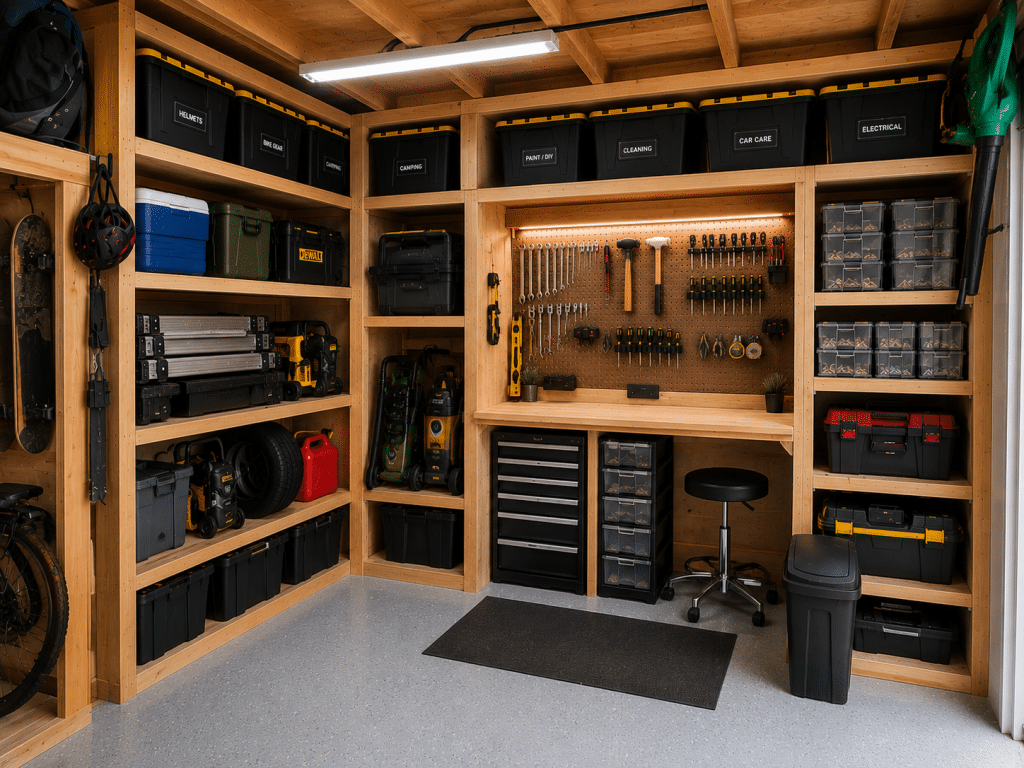
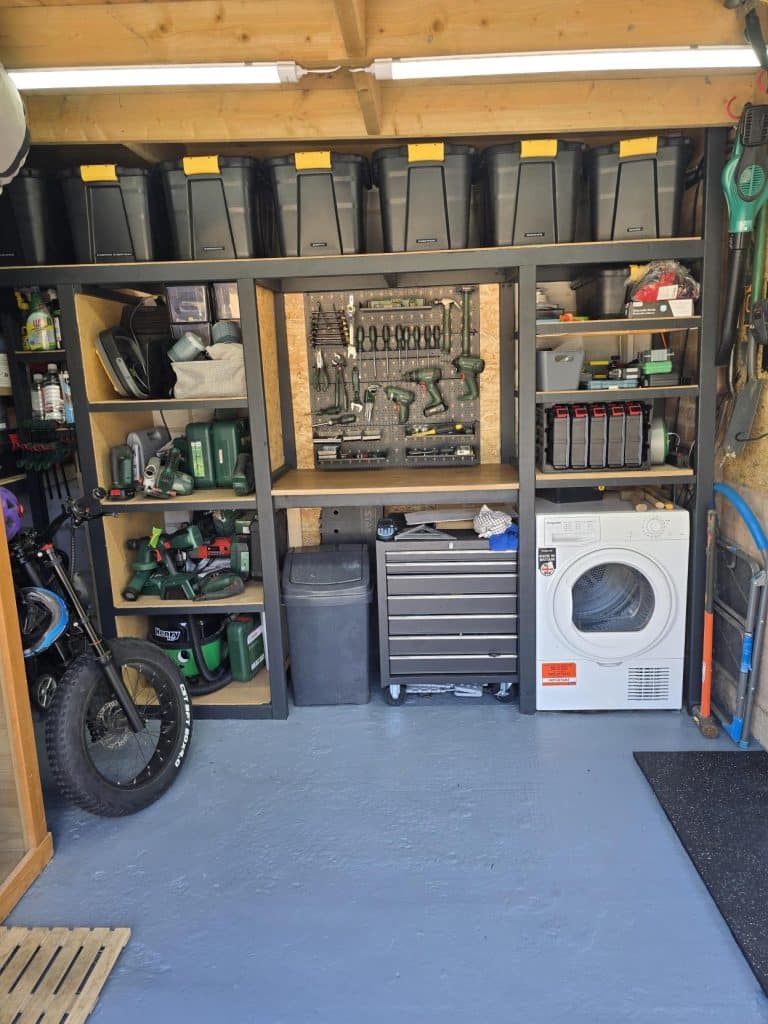
After a bit of back and forth it came up with a layout I liked: a workbench along the back, storage underneath, shelving and a pegboard for tools. A much better use of the space. The more I looked at it, the more I thought I could build it. So I did.
I used the design as a rough plan and built something close to the image. A few things changed along the way, but the overall layout stayed very similar.
That was my favourite part. The AI didn’t do the project for me. It just gave me something to aim at.
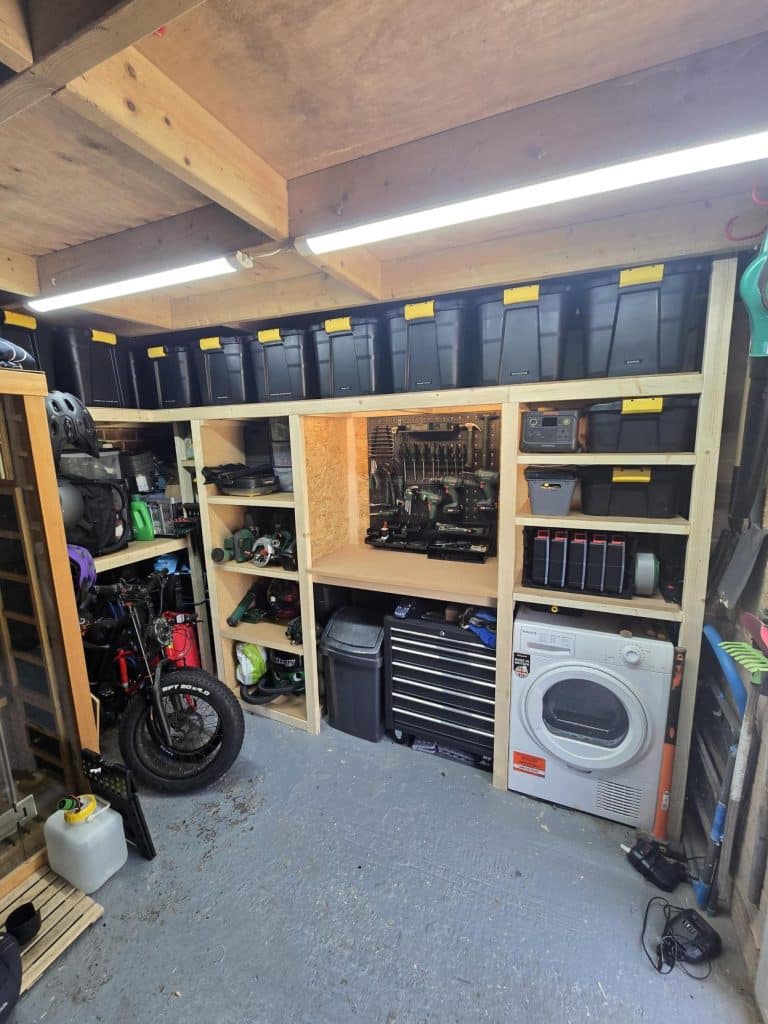
The rest was classic DIY: measuring, cutting, moving things around, changing my mind, buying the bits I forgot, and several trips for things I should have bought the first time.
It has completely changed the space. A proper bench, tools that are easy to reach, and real storage underneath for everything that used to float around the garage. It feels like a room I actually want to use.
I don’t expect it to stay tidy. It’s still a garage and it will fill up with tools, van parts and project bits. But a working garage is very different from one that’s just full of stuff.
The whole point was to make it easier to start things. I’ve got plenty I want to try: jobs around the house, storage ideas, small woodworking pieces, garden bits and more upgrades for the T6. A proper workspace makes all of it feel realistic.
No more clearing the kitchen table, or spending half an hour hunting for a drill bit. I can walk into the garage and get on with it.
It isn’t big and it’ll never be a dream workshop, but it doesn’t need to be. It’s a small space that works for me: somewhere to build, learn, work on the van, and probably justify a few more tools.